I thought I would use this blog to discuss and share some lighting I commonly use in my studio.
Anyone who has attended a studio lighting workshop will certainly know that I don’t work in a hugely cavernous studio space, and in fact I use this very fact to continually demonstrate that control of light is key in the studio, especially smaller ones.
While there are obviously four walls within my studio I principally use two. Broadly speaking I have a grey area and a white area.
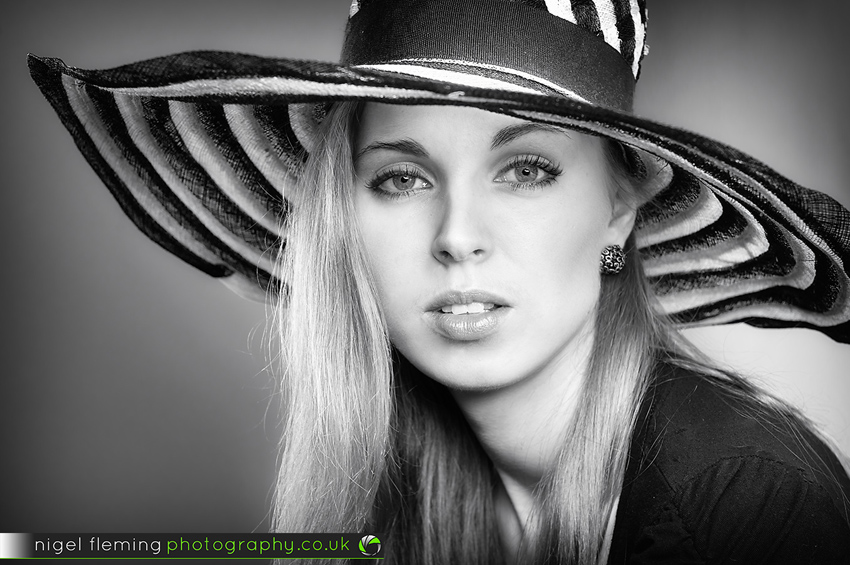
The grey area is extremely versatile and probably my most used wall, not withstanding that grey backgrounds are very much in vogue just now. My grey wall can be anything from pure black to almost pure white depending on how its lit. More commonly for my style of photography though it can be made almost any colour by lighting it with gels. Why be tied to a colour painted wall in the studio when a grey wall can be made any colour you want?
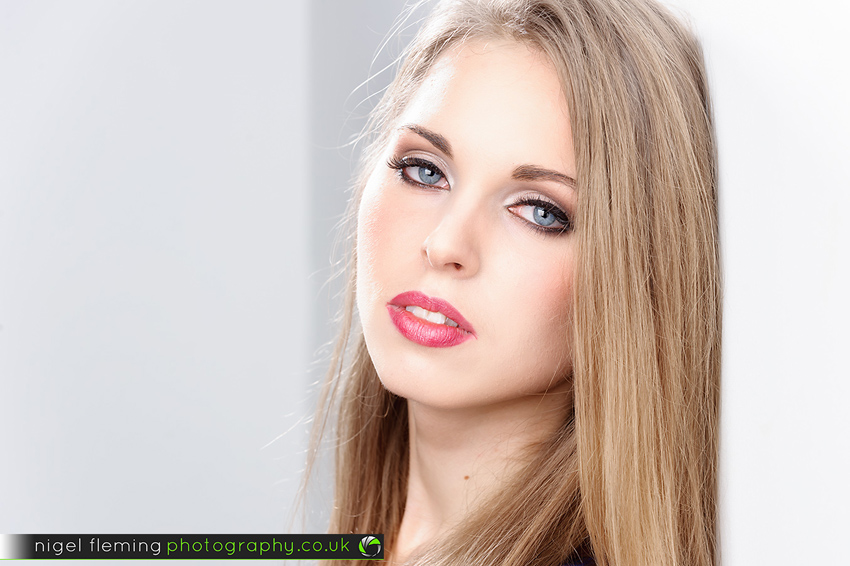
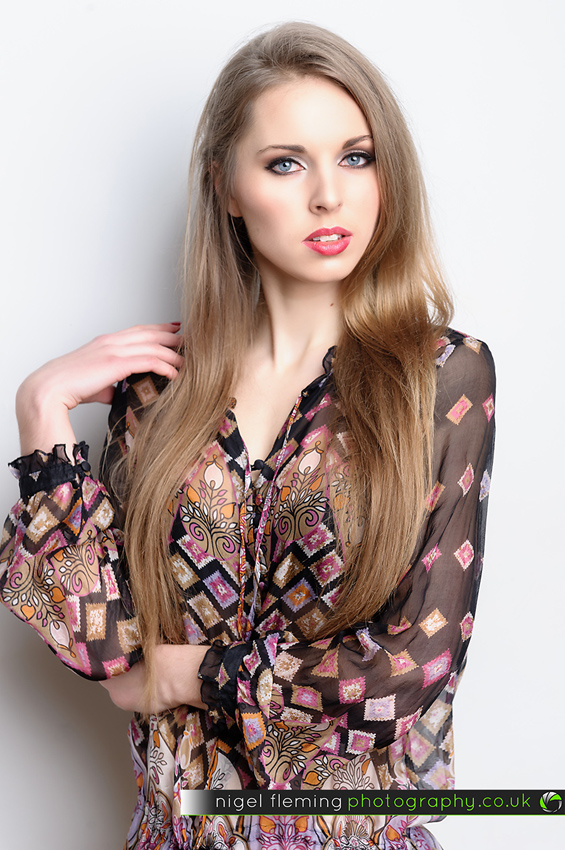
While its possible to make my grey wall white, why do that when I have a white wall area within the studio which gets me to nearer white before having to light it. Conversely my white wall can be made grey by the amount of light on it too! Effectively I can have a light or a dark grey wall depending on which area of the studio I use, i.e. the white wall or the grey wall.
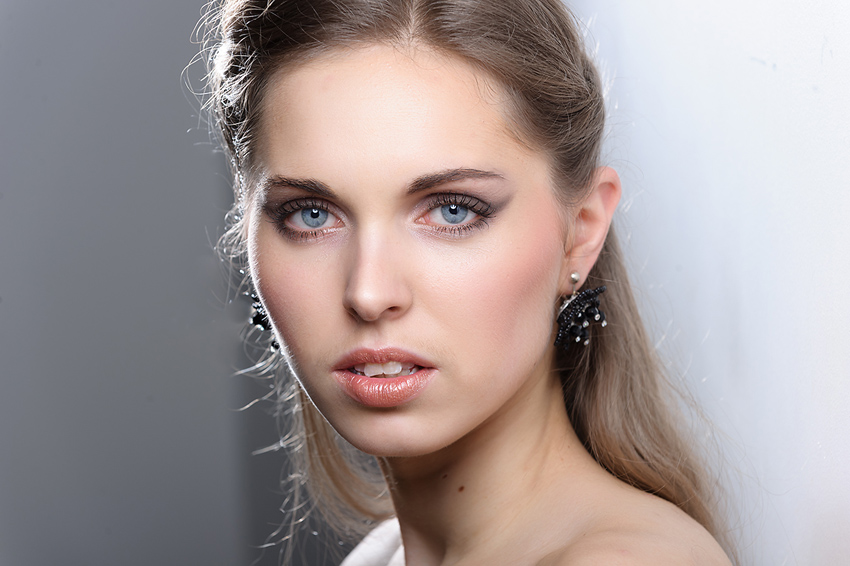
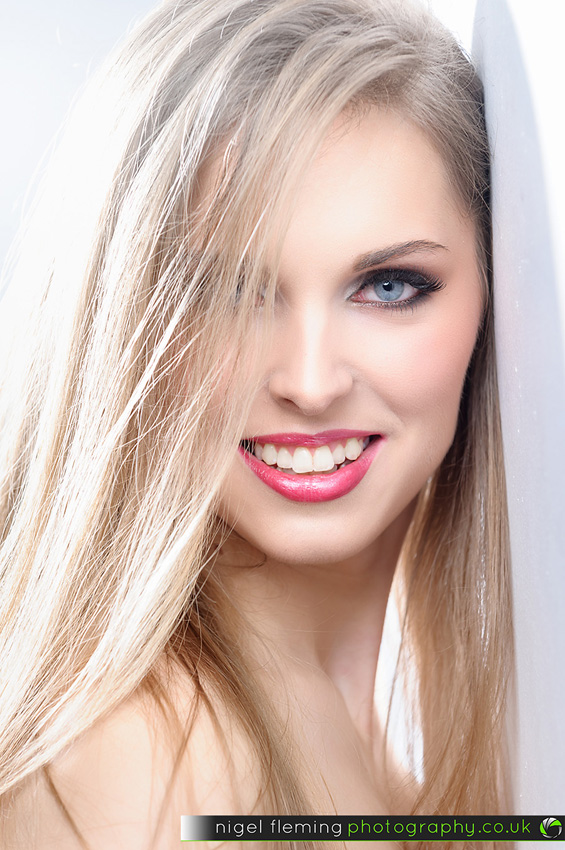
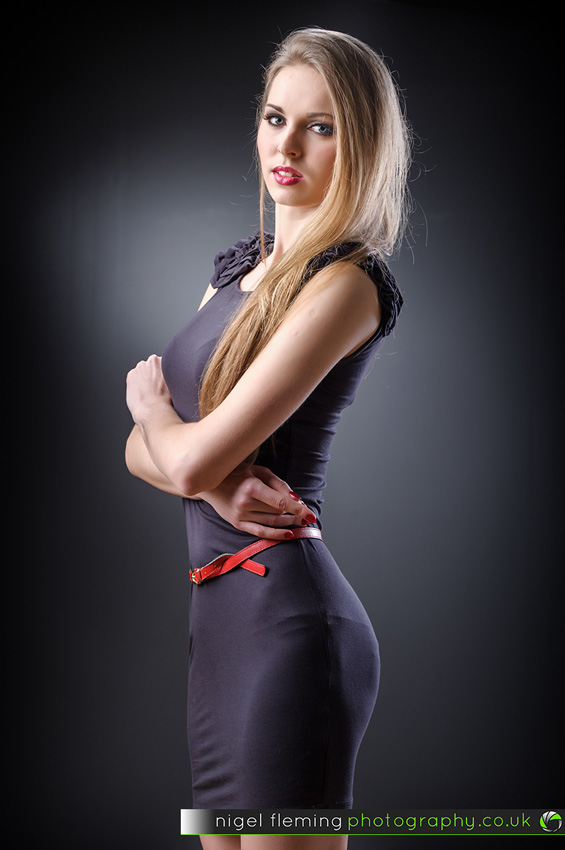
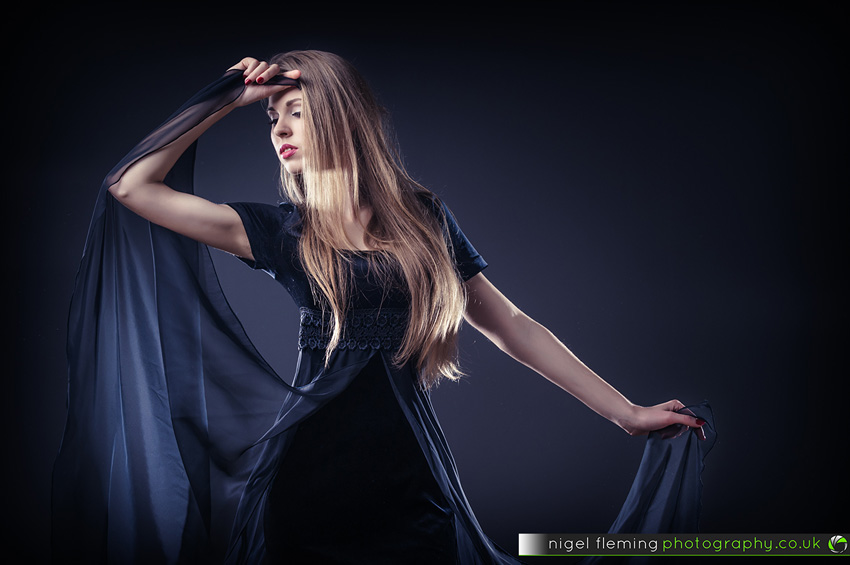
These images of model, Kristina help demonstrate the grey wall/white wall in my studio and how typically use them. As I was going to blog Kristina’s photos anyway I thought I could use this to also further explain my studio space and some lighting.
This is now nearing the end of the winter season of studio lighting workshops and I’ll soon be concentrating more on location off camera flash workshops. It’s been an extremely busy winter for studio lighting workshops. By far the most busy yet in terms of the number of photographers who have attended various workshops over the winter months. All photographers who have been will know exactly the position in the studio of these images and also how they were lit.
Here’s some photos:
I still hope to fit in another Introduction too Studio Lighting and a Creatively Advanced Studio Lighting workshop before the end of the winter season. If you would like to book or enquire please click here.


