It’s always an honour to be invited to a camera club to give a talk or demonstration, and it’s with modesty I accept such invitations when I can, and as time allows.
This one was for CPA in Belfast, and the kind invite to attend came from Paul Kavanagh. Paul has been up to my studio in Linen Green many times, and we have formed a good friendship.
[hr]
In general terms a camera club will typically bring together a group of people of quite varied experience, from those who are vastly experienced to those who are at the beginning of their photography journey. For that reason it can be quite tricky in deciding at what level to pitch a presentation. However I would always try to bias towards the beginners side and keep things relatively straight forward, endeavouring to explain everything in a jargon free way.
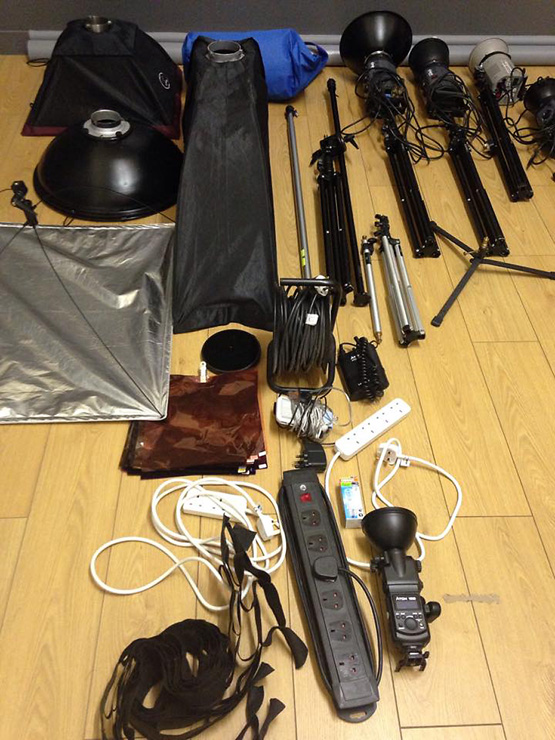
On a personal level its always much more my scene to be demonstrating lighting in a practical way, as opposed to making a more formal presentation to a seated audience, and I encourage the club members to get up close and be involved in everything which is going on. This does involve packing up quite a bit of studio equipment and fitting it all into the car.
[hr]
For CPA Camera Club in Belfast I decided to start out with my typical beauty lighting setup, showing it being built up one light at a time. Paul had arranged our model for the evening who was Destiny. I have photographed Destiny before, and for beauty photography in particular, there’s few better in the business than her with her great cheek bones and other strong facial features. On a side note, thank you to Destiny for coming along and doing her own makeup for the evening.
Following a detailed explanation of hard and soft light, and how to control studio light in a small studio space using various lighting modifiers, I set up the first step of a typical beauty lighting image. Consistent with beauty lighting I like to bring a light in from directly above on a boom arm. In this case its a soft light source. The look is then softened even further by introducing a reflector under.
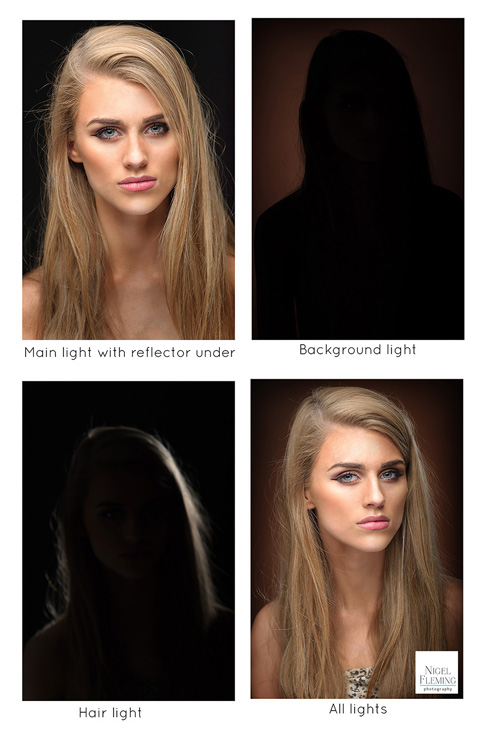 Rather than showing each light being added individually, above is a montage of the additional lights being added one by one. (Forgive the hair light demo image being badly out of focus. The room was so dark my camera refused to pick up focus so I simply knocked it into manual to allow me to press the shutter). Please click on any image to see it slightly larger.
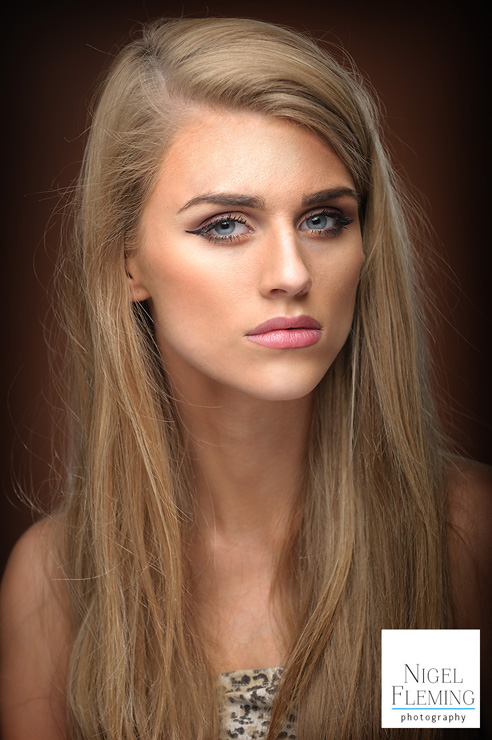
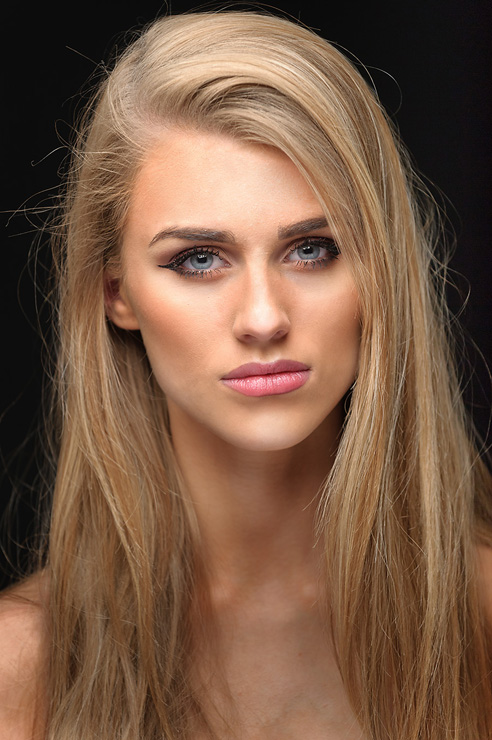
And here is a larger version of the finished product. A typical 3 light beauty setup.
[hr]
From there I contrasted completely both in terms of now moving to a much more high key setup with a bright background and also changing from soft to hard light.
The walls in the community centre room we were in had quite a strong green fleck through otherwise off-white walls, and I wanted to try to eliminate the green fleck as much as possible and replicate a typical studio high key image, but using this wall.
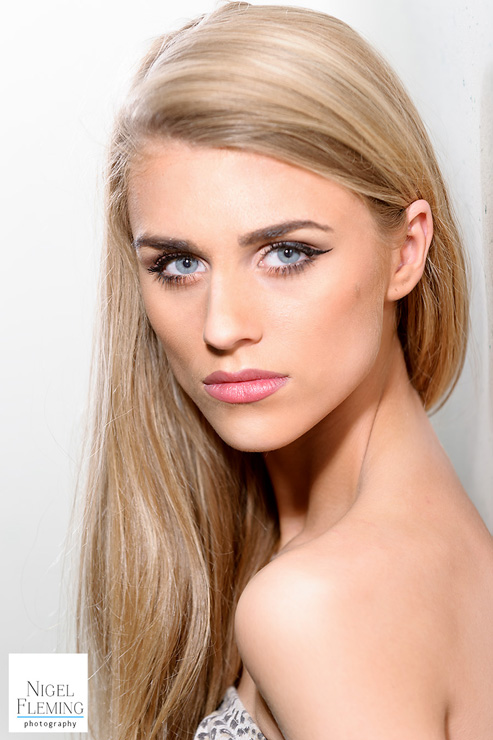 This was the result, and 3 lights were used. The key light on Destiny is a hard light and this can be seen with a well defined shadow under the chin onto the neck area. Also a small but hard shadow under the nose. A hair light was also then added and finally a carefully controlled light into the green fleck wall behind to take it out to near white. Note in the above image the fleck in the wall is still visible in the shadow area to the right of Destiny.
[hr]
As is usual on demonstration evenings like these, time ran desperately short and I never managed to get through nearly as much as I had hoped.
I did however manage to slip in one final super quick setup. We literally had ten minutes to set this up and photograph it before starting to pack up and leave.
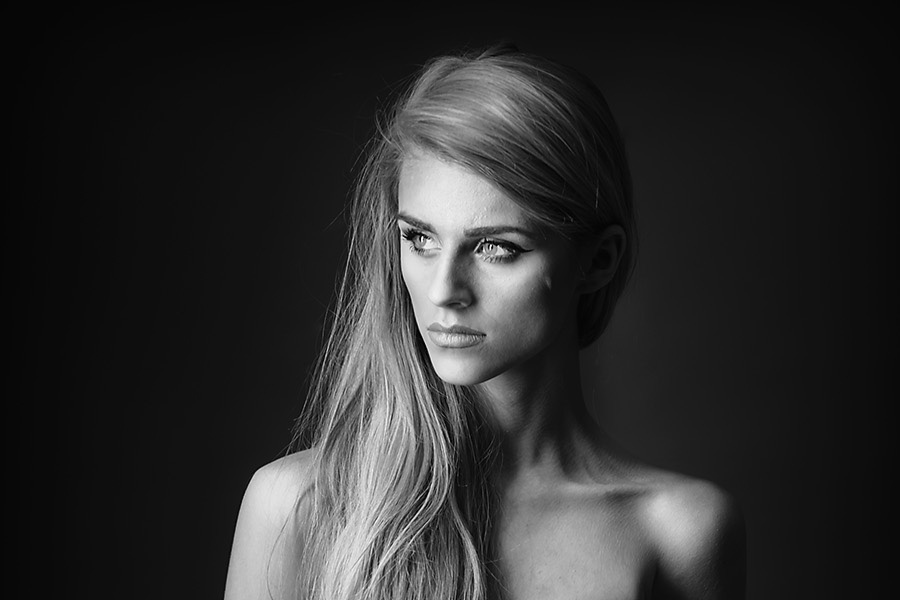
For this final setup I wanted to show a single light as I appreciate may people will start out with just one light, or perhaps even just a speedlight. The modifier used here was a strip softbox.
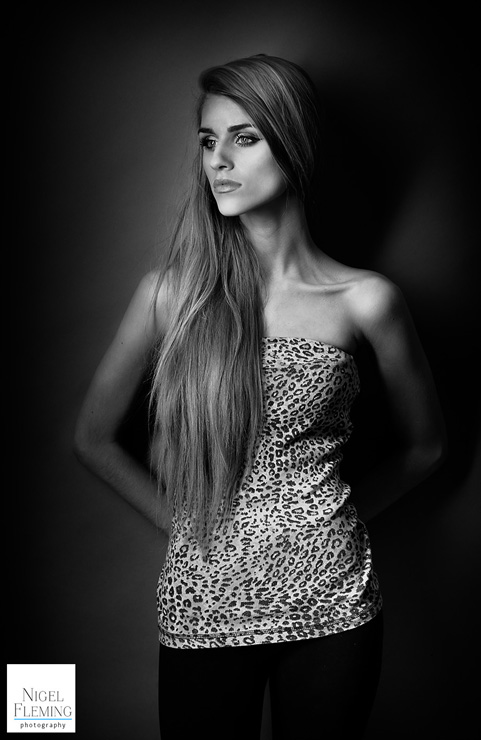
This was Destiny tight in against a grey paper roll background doing an excellent job at pretending she was leaning back into it.
The photo above and the one below were slightly edited in Lightroom only and had no Photoshop work. I used the default Lightroom black and white conversion which I find excellent, and then adjusted a few sliders for contrast etc. To me this is a quick and easy no fuss way to create a very acceptable black and white. In darkroom days I always preferred contrasty black and whites and achieved this by using high contrast paper in the darkroom and dodging and burning under the enlarger.
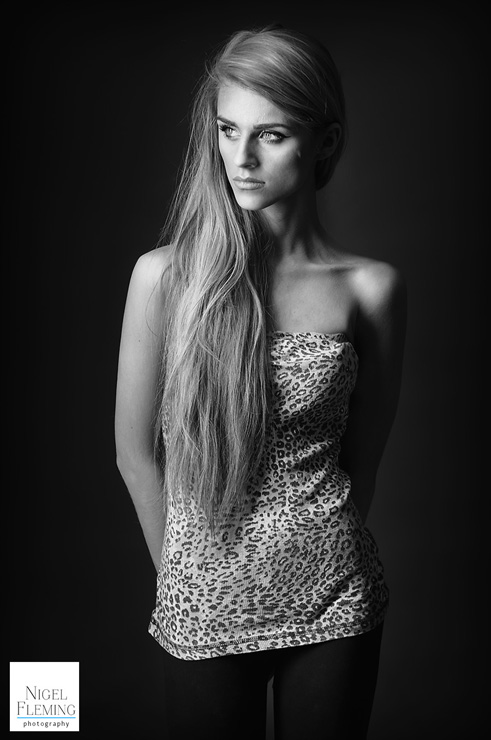 For this one I asked Destiny to take a step forward by about a meter. Edited in Lightroom as per above.
Thank you to CPA for the kind invitation to attend, and also for the hospitality and warm welcome I received from club members. The tea alone was worth coming for 🙂


